- Published on
Pytorch (3-1) - CNN: 곤충 이미지 분류하기
- Author

- Name
- yceffort
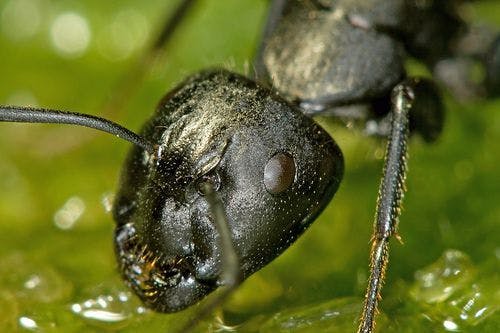
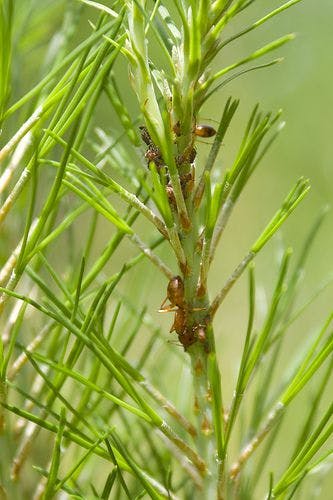
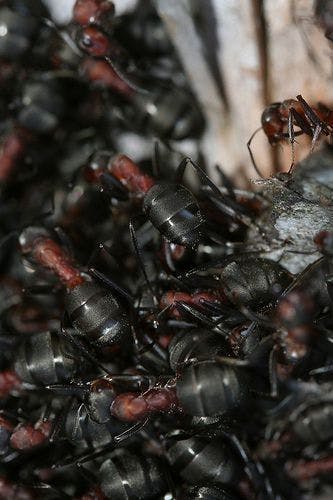
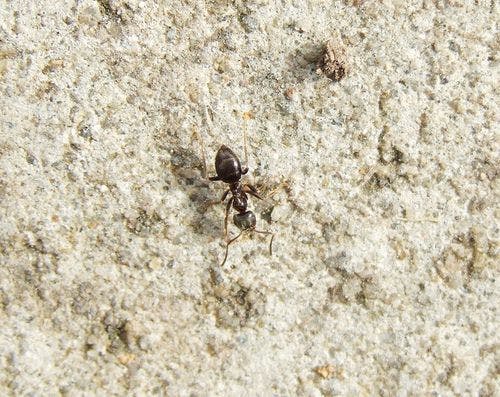
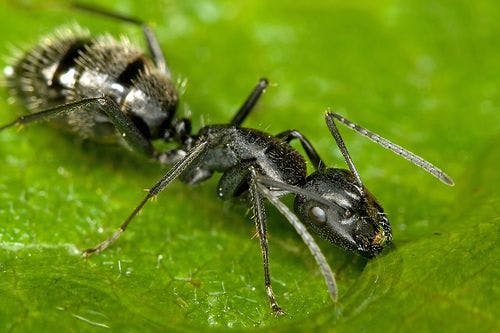
pytorch에서 주는 곤충 이미지를 분류하는 작업을 해보려고 한다. 벌과 개미 이미지가 있는데, 각각의 이미지를 잠깐 살펴보면
import torch
from torch.autograd import Variable
import torch.nn as nn
import torch.nn.functional as F
import torch.optim as optim
from torch.utils.data import DataLoader, TensorDataset

import os
from PIL import Image
import numpy as np
import pandas as pd
from sklearn import datasets, model_selection


train_path = '/content/gdrive/My Drive/Colab Notebooks/pytorch/data/hymenoptera_data/train/'
val_path = '/content/gdrive/My Drive/Colab Notebooks/pytorch/data/hymenoptera_data/val/'
이미지를 분석한다. RGB컬러로 이루어진 이미지이므로, 이를 숫자로 변환해서 구별하고자 한다.
dirs = ['ants', 'bees']

data = []
label = []

for i, d in enumerate(dirs):
  files = os.listdir(train_path+d)

  for f in files:
    img = Image.open(train_path + d + '/' + f, 'r')
    # 이미지를 128, 128로 일괄 리사이즈 한다.
    resize_img = img.resize((128, 128))

    # 이미지를 RGB 컬러로 각각 쪼갠다.
    # https://pillow.readthedocs.io/en/3.1.x/reference/Image.html#PIL.Image.Image.split 참조
    r, g, b = resize_img.split()
    # 각 쪼갠 이미지를 255로 나눠서 0~1 사이의 값이 나오도록 정규화 한다.
    r_resize_img = np.asarray(np.float32(r) / 255.0)
    b_resize_img = np.asarray(np.float32(g) / 255.0)
    g_resize_img = np.asarray(np.float32(b) / 255.0)

    rgb_resize_img = np.asarray([r_resize_img, b_resize_img, g_resize_img])
    # 이렇게 가공한 이미지를 추가한다.
    data.append(rgb_resize_img)
    # 라벨 (ant: 0, bee: 1)
    label.append(i)

pd.DataFrame(data[0][0]).shape
(128, 128)
이제 각각의 데이터를 분석할 수 있도록 변경한다.
data = np.array(data, dtype='float32')
label = np.array(label, dtype='int64')

train_X, test_X, train_Y, test_Y = model_selection.train_test_split(data, label, test_size=0.1)

train_X = torch.from_numpy(train_X).float()
train_Y = torch.from_numpy(train_Y).long()

test_X = torch.from_numpy(test_X).float()
test_Y = torch.from_numpy(test_Y).long()

train = TensorDataset(train_X, train_Y)
train_loader = DataLoader(train, batch_size=32, shuffle=True)
이제 신경망을 구성해야 한다.
# 신경망 구성
class Net(nn.Module):
  def __init__(self):
    super(Net, self).__init__()
    # 합성곱층
    self.conv1 = nn.Conv2d(3, 10, 5) # 입력 채널 수, 출력 채널 수, 필터 크기
    self.conv2 = nn.Conv2d(10, 20, 5)

    # 전결합층
    self.fc1 = nn.Linear(20 * 29 * 29, 50) # 29=(((((128-5)+1)/2)-5)+1)/2
    self.fc2 = nn.Linear(50, 2)

  def forward(self, x):
    # 풀링층
    x = F.max_pool2d(F.relu(self.conv1(x)), 2) # 풀링 영역 크기
    x = F.max_pool2d(F.relu(self.conv2(x)), 2)
    x = x.view(-1, 20 * 29 * 29)
    x = F.relu(self.fc1(x))
    x = self.fc2(x)
    return F.log_softmax(x)

# 인스턴스 생성
model = Net()
criterion = nn.CrossEntropyLoss()

optimizer = optim.Adam(model.parameters(), lr=0.001)

for epoch in range(500):
  total_loss = 0
  for train_x, train_y in train_loader:
    train_x, train_y = Variable(train_x), Variable(train_y)
    optimizer.zero_grad()
    output = model(train_x)
    loss = criterion(output, train_y)
    loss.backward()
    optimizer.step()
    total_loss += loss.data.item()
  if (epoch+1) % 50 == 0:
    print(epoch+1, total_loss)

test_x, test_y = Variable(test_X), Variable(test_Y)
result = torch.max(model(test_x).data, 1)[1]
accuracy = sum(test_y.data.numpy() == result.numpy()) / len(test_y.data.numpy())
accuracy
정확도는 0.6이 나왔다. 랜덤으로 때려 맞춰도 50%인 것을 감안했을때, 썩 좋은 수치라고는 할 수 없다. 문제는 covolutional layer의 크기와 개수다. 이를 조금더 조정해야 한다. 조정해서 조금더 정확치를 높여보자.